
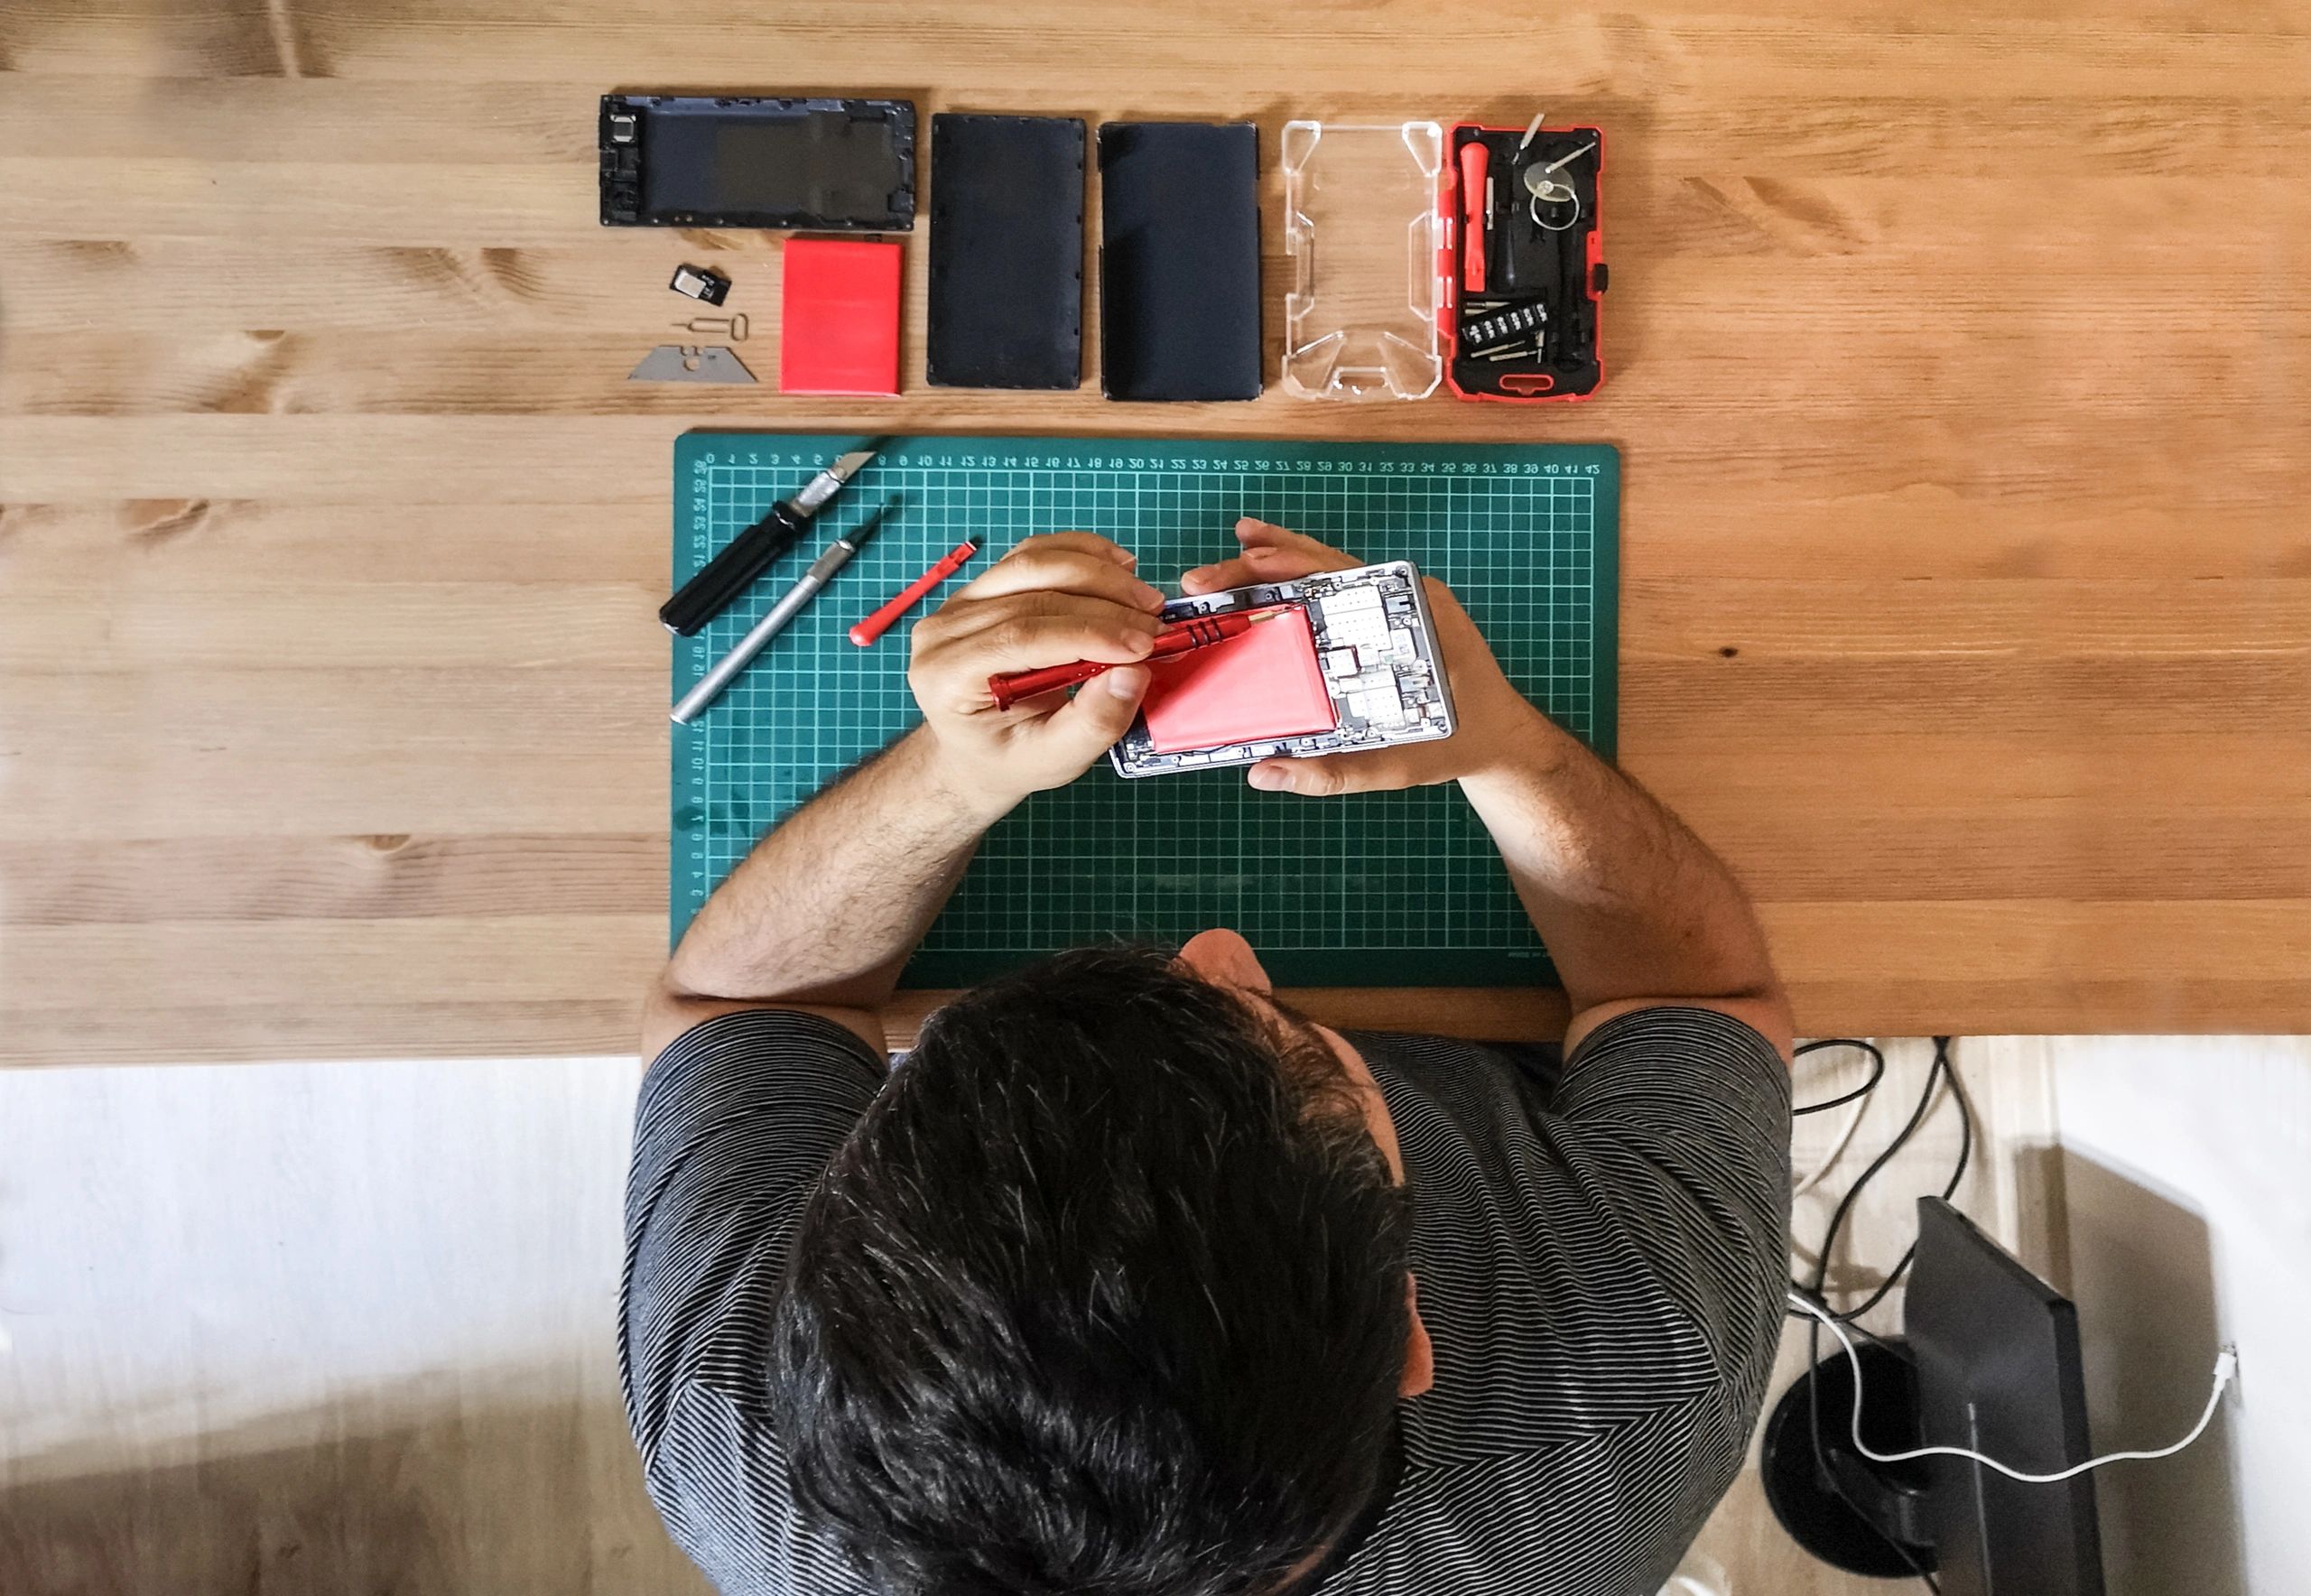
Fix Your Phone, Not Your Budget: The Smart Way to Handle Mobile Issues at Home
Every year, millions of mobile devices end up in landfills across Pakistan—not because they’re beyond use, but because users assume repairs require expensive service centers or specialized skills. The truth? Many common phone problems can be resolved from the comfort of your home in Jhelum, Lahore, or anywhere in Punjab with basic tools and the right knowledge. Learning how to repair mobile phones at home isn’t just about saving money on labor and parts—it’s a powerful step toward reducing electronic waste and extending the life of your device.
In this guide, you’ll discover practical, step-by-step methods to diagnose and fix everyday issues like cracked screens, battery drain, unresponsive touchscreens, and charging port malfunctions. You’ll learn how to safely open your device, identify faulty components, and source affordable replacements available locally or online. We’ll cover essential tools like pentalobe screwdrivers, suction handles, and plastic prying tools, plus tips for organizing screws and avoiding damage during disassembly.
By mastering home repair techniques, you gain more control over your devices, protect your data privacy, and contribute to a more sustainable tech ecosystem—all without stepping into a shop. Let’s dive into the world of DIY mobile repair and turn your frustration into empowerment.
Master Your Repairs: 7 Must-Have Tools for Fixing Phones at Home
Tackling mobile phone repairs at home can save time and money—but only if you have the right tools. Whether you’re in Jhelum, Lahore, or another city across Punjab, having a well-equipped toolkit ensures you can safely and effectively address common issues like cracked screens, dead batteries, or charging port failures. Here are the essential tools every DIY repair enthusiast should own:
-
Precision Screwdriver Set (with Magnetic Tips)
Smartphones use tiny, specialized screws—often Phillips #000 or #00. A quality precision screwdriver set with magnetic tips helps prevent losing screws during disassembly. Look for sets labeled for iPhone or Android repairs to ensure compatibility. -
Prying Tools and Spudgers
Plastic or nylon opening tools are crucial for safely separating glued components without scratching surfaces. A metal spudger helps disconnect delicate ribbon cables. These are especially useful when removing back panels or screens on modern sealed devices. -
Suction Cup and Guitar Picks
A small suction cup helps lift cracked screens or stubborn glass backs. Paired with guitar picks (or thin plastic wedges), they allow gradual separation of components—ideal for devices with strong adhesive, like many Samsung or Apple models. -
Tweezers (Anti-Static)
Fine-point anti-static tweezers let you handle tiny screws, connectors, or SIM trays with precision. Anti-static versions prevent electrostatic discharge that could damage sensitive internal circuits. -
Heat Gun or Hairdryer
Adhesive strips under batteries and screens require heat to loosen. A heat gun or even a household hairdryer softens glue safely, reducing the risk of breaking components during removal. -
Anti-Static Wrist Strap
Protect your device—and your repair—from static damage by grounding yourself with an anti-static wrist strap. This is especially important in dry climates or carpeted areas. -
Magnetic Mat with Screw Layout
Keep track of tiny screws with a magnetic mat that labels where each screw belongs. This prevents misplacement and ensures correct reassembly—critical for avoiding short circuits or case gaps.
With these tools, you’re equipped to handle basic repairs confidently and professionally.
Master the Basics: How to Safely Open Your Smartphone and Identify Internal Components
Opening a smartphone requires precision, the right tools, and a methodical approach to avoid damaging delicate internal components. Whether you’re in Jhelum, Lahore, or another city across Punjab, following these steps ensures a safe and successful repair process.
-
Power Off and Prepare Your Workspace
Always power down the device completely and remove the SIM tray and any external accessories. Work on a clean, static-free surface with ample lighting. -
Use the Correct Tools
Start with a precision screwdriver set that includes P2 and P3 Pentalobe bits—commonly used for smartphone screws. A plastic pry tool or spudger prevents scratches when separating glued components. -
Apply Heat to Loosen Adhesive
Most modern phones use strong adhesive between the back panel and frame. Use a heat gun or hairdryer to warm the edges evenly, softening the glue for safer separation. -
Remove Screws and Gently Pry Open
Unscrew all visible fasteners and store them securely. Carefully insert the pry tool at a seam and gently lift the back cover—avoid applying force near ports or buttons. -
Identify Key Internal Components
Once open, locate the battery, logic board, charging port, and flex cables. Take note of connector positions before disconnecting anything—memory connectors often sit under protective shields secured by small screws.
Pro Tip: Take photos at each stage to guide reassembly and prevent misplacing screws or cables. Patience and careful handling go a long way in preserving your device’s integrity.
5 Common Mobile Phone Repairs You Can Handle at Home
Smartphone issues don’t always require a trip to the repair shop—many common problems can be resolved safely and effectively from home with the right tools and know-how. Whether you’re in Jhelum, Lahore, or elsewhere across Punjab, mastering basic repairs saves time and money while extending your device’s lifespan.
-
Replace a Cracked Screen Without Breaking the Bank
A shattered display is one of the most frequent issues, but DIY screen replacement kits are widely available and affordable. Use a precision screwdriver set and suction cup to carefully open the device. Follow model-specific disassembly guides to disconnect the old display and install the new one. Be cautious with ribbon cables—bending or damaging them can lead to touch or display failures. Calibrate the screen afterward by testing responsiveness across all zones. -
Fix Battery Drain with a Simple Swap
If your phone dies quickly despite minimal use, the battery may be degraded. Lithium-ion batteries typically last 2–3 years before capacity drops below 80%. Replace the battery using non-conductive tools to avoid short circuits. For iPhones, use a pentalobe screwdriver; for most Android models, a Phillips head works. Apply heat gently to loosen adhesive, then lift the battery with a spudger. Always recycle the old battery at designated e-waste centers in cities like Lahore or Rawalpindi. -
Clear Dust and Debris from the Charging Port
Slow charging or failed connections often stem from lint buildup. Power off the phone and use a dry toothbrush or plastic pick to dislodge debris. Avoid metal tools to prevent damaging internal contacts. For stubborn particles, a can of compressed air at a safe distance can help. Once cleaned, test with multiple cables to ensure reliable charging. -
Repair Water Damage with Immediate Action
If your phone gets wet, act fast. Turn it off immediately—never charge a damp device. Remove the SIM tray and place the phone in a sealed container with silica gel packets for 24–48 hours. Rice is less effective and can leave residue. After drying, power on cautiously. Even if it works, schedule a professional inspection later to avoid corrosion-related failures. -
Fix Flickering or Unresponsive Touch Screens
Sometimes the issue isn’t the glass but the digitizer underneath. A faulty connection or software glitch can mimic hardware failure. Before replacing parts, try recalibrating through settings or booting into safe mode to rule out app interference. If hardware is at fault, replacement follows similar steps to screen repair, but requires extra care with fragile flex cables.
With patience and precision, these repairs restore functionality and keep your smartphone running like new—right from your home.
Smart Sourcing: How to Find Reliable Phone Parts Without Breaking the Bank
Replacing a cracked screen or faulty battery doesn’t require emptying your wallet—if you know where to look. The key to affordable mobile phone repairs lies in sourcing quality replacement parts while ensuring they’re fully compatible with your specific device model. Start by identifying your phone’s exact make, model, and variant—details often found under Settings > About Phone or printed on the back or SIM tray. Even small differences between models (like the Samsung Galaxy S23 vs. S23+) can result in incompatible parts.
When shopping for components, prioritize sellers that provide detailed compatibility charts and clear product descriptions. Generic terms like “fits iPhone” are red flags—look for precise labeling such as “OEM-grade LCD for iPhone 14 Pro Max.” In cities like Jhelum, Lahore, or Rawalpindi, local electronics markets may offer competitive pricing, but always inspect parts in person for signs of tampering or poor craftsmanship.
Online marketplaces can be cost-effective, but vet sellers carefully by checking reviews and return policies. Opt for modular components—like complete display assemblies for OLED screens—that reduce the risk of alignment errors during installation. Avoid the cheapest option; instead, balance cost with reliability.
Lastly, confirm whether the part is OEM (Original Equipment Manufacturer), refurbished, or aftermarket. While OEM parts offer the best performance, high-quality aftermarket alternatives can deliver strong results at lower prices. With careful research and attention to detail, you can source durable, compatible parts and extend your device’s lifespan affordably.
Repair with Confidence: Your Home Phone Fix FAQs Answered
Is it safe to repair my phone at home?
Yes, minor repairs like battery replacements or screen fixes can be safe if you follow proper procedures and use the right tools. Always power off your device and work in a static-free environment. For complex issues involving internal components or water damage, proceed with caution—improper handling can lead to short circuits or further damage.
Will fixing my phone at home void the warranty?
Most manufacturers void warranties once the device seal is broken or third-party parts are installed. If your phone is still under warranty, check your provider’s policy before starting any repair. For out-of-warranty devices, DIY fixes are a cost-effective option, especially in cities like Jhelum or Lahore where professional services may be limited or expensive.
What tools do I need for basic phone repairs?
Essential tools include a precision screwdriver set, plastic pry tools, tweezers, and a suction cup for screen removal. Investing in anti-static wrist straps and a clean workspace helps prevent damage. Many repair kits are available locally or online and are tailored for common models.
When should I seek professional help?
If your phone has suffered liquid damage, won’t power on, or shows issues after a failed DIY attempt, it’s best to consult a certified technician. Professionals have specialized equipment like thermal imaging tools and microscopes to diagnose hidden faults.
Can I replace just the charging port or camera myself?
Yes, component-level repairs are possible with detailed guides and replacement parts. However, these require soldering skills and steady hands. For most users, replacing the full module or visiting a service center in Punjab cities like Rawalpindi or Faisalabad is more reliable.
How do I avoid damaging my phone during repair?
Follow step-by-step disassembly guides, organize screws as you remove them, and never force components. Use manufacturer-recommended parts when possible, and double-check connections before reassembling.
Where can I find reliable repair information?
Look for trusted repair communities and instructional videos that match your phone model. Many resources include troubleshooting tips specific to common issues faced by users across Pakistan.
Repair with Confidence: Empower Yourself Through DIY Phone Fixes
Learning how to repair mobile phones at home offers more than just cost savings—it builds self-reliance and deepens your understanding of the devices you depend on daily. From replacing cracked screens to swapping out worn batteries, many common smartphone issues can be resolved with basic tools, clear instructions, and a careful approach. By mastering fundamental techniques like safe disassembly, component identification, and proper reassembly, you gain the ability to extend your device’s lifespan and reduce electronic waste—a win for both your wallet and the environment.
However, successful DIY repair hinges on preparation and caution. Always power off your device before starting, use the correct tools such as pentalobe screwdrivers and suction handles, and work in a clean, well-lit space—especially important for those in Jhelum, Lahore, or other cities across Punjab where dust and humidity can affect sensitive components. Keep screws organized and follow step-by-step procedures to avoid damaging connectors or flex cables.
If you’re new to repairs, start with simpler tasks and consult trusted repair guides to build confidence. For issues involving water damage or motherboard faults, consider when professional help is needed. Your website may offer additional tutorials or local support options to help you succeed.
Take control of your tech—repairing your phone at home isn’t just practical, it’s empowering. With the right mindset and knowledge, you can breathe new life into your devices safely and effectively.
Discover more from UnzipWorld: DIY, E-commerce, Fashion & Tech Insights
Subscribe to get the latest posts sent to your email.