
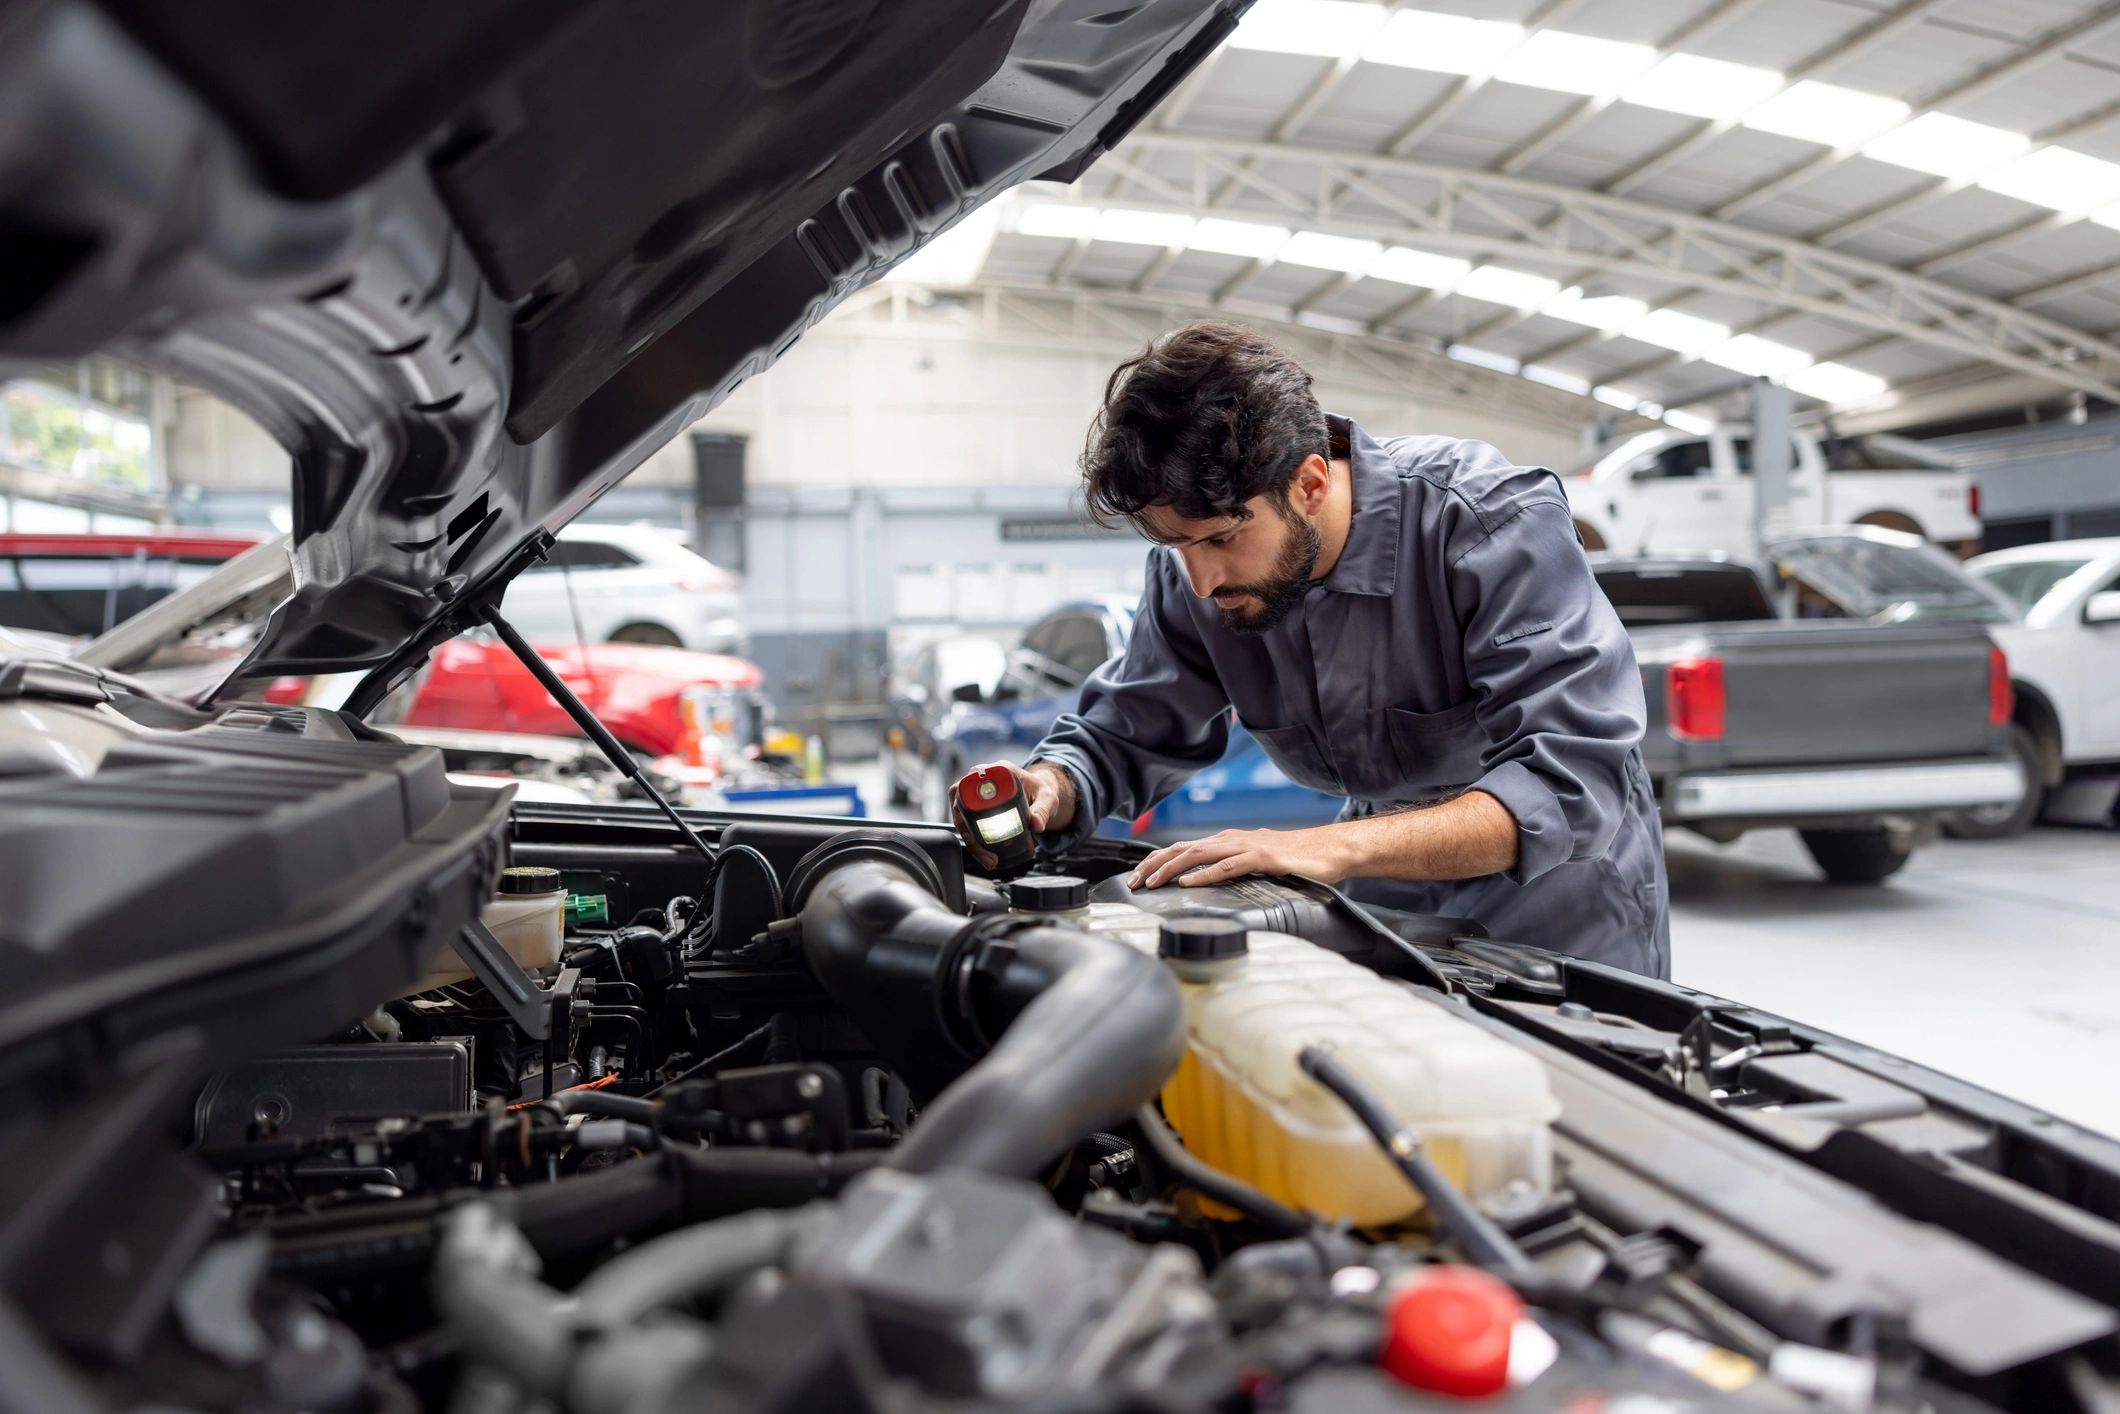
Why Basic Car Maintenance Matters More Than You Think
Every driver knows the frustration of unexpected breakdowns, costly repairs, or getting stranded on the side of the road. Yet, many overlook the fact that a significant number of car troubles can be prevented—or at least delayed—with simple, at-home maintenance. In cities like Jhelum and across Punjab, where daily commutes can vary from smooth highways to rough rural roads, keeping your vehicle in peak condition isn’t just about convenience—it’s about reliability and safety.
Routine checks and minor fixes don’t require a mechanic’s expertise. Tasks like monitoring tire pressure, topping off fluids, inspecting battery terminals, and replacing air filters are quick, low-cost actions that can dramatically extend your vehicle’s lifespan. By catching warning signs early—like a weak battery before winter or low brake fluid before a long trip—you avoid bigger issues down the line.
This guide will walk you through diagnosing common car problems, using everyday tools and a bit of know-how to save time and money. From Lahore to Islamabad and beyond, drivers who take proactive control of basic maintenance spend less on repairs, enjoy smoother rides, and boost their car’s resale value. You’ll learn how to troubleshoot engine warnings, improve fuel efficiency, and stay road-ready—no garage required.
Jump-Start Your Journey: Fixing a Dead Battery Like a Pro
A sudden no-start can ruin any day, but a dead car battery is one of the most common—and fixable—issues drivers face. Before calling for help, try diagnosing and resolving the issue yourself with basic tools and safety precautions.
Check for Symptoms of a Weak Battery
Slow cranking, dim headlights, or a clicking noise when turning the key often point to a battery issue. Use a multimeter to test voltage: a healthy battery reads 12.6V or higher when off, and above 10V when starting.Inspect Battery Terminals
Corrosion or loose connections can mimic a dead battery. Open the hood and examine the terminals. If you see white/green buildup, clean them with a mixture of baking soda and water using a wire brush. Ensure cables are snug and free of wear.Safely Jump-Start the Vehicle
Use jumper cables and a donor car (or portable jump starter). Connect red to positive (+) on both batteries, black to negative (-) on the good battery and an unpainted metal surface on the dead car. Start the donor vehicle, wait 5 minutes, then attempt to start your engine.Drive to Recharge
After starting, drive for at least 20–30 minutes to allow the alternator to recharge the battery. Avoid short trips that can lead to repeated drain.
Pro Tip: In colder climates like Punjab, battery performance drops significantly—regular checks are crucial during winter months. For Jhelum-area drivers, keeping a portable jump starter in your trunk is a smart move.
Change a Flat Tire Like a Pro: Your Step-by-Step Guide
Getting a flat tire can happen anytime, whether you’re driving through Jhelum’s city streets or heading across Punjab on a long trip. The good news? Replacing a flat with your spare tire is a straightforward process if you know the steps and stay calm. With the right tools—your spare tire, jack, lug wrench, and vehicle manual—you can get back on the road safely in under 30 minutes.
Pull Over Safely
Find a flat, stable surface away from traffic. Engage your parking brake and turn on hazard lights. Never change a tire on a slope or shoulder with moving traffic nearby.Secure the Vehicle
Place wheel wedges (or rocks) against the tires opposite the flat to prevent rolling. Remove the hubcap if present, then loosen the lug nuts slightly—just enough to break resistance.Lift with the Jack
Position the jack under the vehicle’s reinforced lift point (consult your manual). Crank slowly until the flat tire is 6 inches off the ground. Never place any body part under the vehicle during this step.Remove the Flat & Mount the Spare
Fully unscrew the lug nuts and set them aside. Pull off the flat tire and align the spare onto the wheel studs. Push until it seats fully.Lower and Tighten
Lower the jack until the tire touches the ground, then tighten the lug nuts in a star pattern to ensure even pressure. Fully lower the vehicle and torque securely.
Pro Tip: Check your spare’s pressure monthly and inspect its condition—many drivers forget it ages even when not in use. If you’re driving on a temporary “donut” spare, limit speed to 50 mph and get the flat repaired or replaced as soon as possible.
Silence the Squeal: How to Replace a Worn Alternator Belt at Home
A squealing noise when starting your car or accelerating could signal a failing alternator belt—an essential component that powers your electrical system. Ignoring it risks a dead battery and a stranded vehicle, especially during morning commutes in Jhelum or weekend drives across Punjab. The good news? Replacing it is a manageable DIY job with basic hand tools and the right safety precautions.
- Disconnect the battery – Always start by removing the negative terminal to prevent electrical shorts.
- Locate the alternator and belt – Refer to your owner’s manual for engine layout. The belt typically runs between the crankshaft pulley and alternator.
- Check belt tension and condition – Look for cracks, fraying, or glazing. A belt that’s too loose slips; too tight strains bearings.
- Loosen the alternator mounting bolts – Use a wrench to slacken the pivot and adjustment bolts, easing tension on the belt.
- Remove the old belt – Slide it off the pulleys carefully, noting its routing path.
- Install the new belt – Route it exactly as the old one, then adjust tension using the adjustment bolt until there’s about ½ inch of play.
- Retighten all bolts and reconnect the battery – Ensure everything is secure before starting the engine.
Pro tip: Mark the belt’s original position with chalk before removal to simplify reinstallation. Test your work with a short drive and monitor for noise or warning lights. Regular inspections every 6 months can prevent unexpected failures.
Keep Your Car Running Smoothly: A Step-by-Step Guide to Checking and Topping Off Fluids at Home
Proper fluid levels are essential for your vehicle’s performance, safety, and longevity—yet many drivers overlook this simple maintenance task. The good news? You don’t need a mechanic or special tools to check and top off engine oil, coolant, brake fluid, or windshield washer fluid. With just a few household items and a few minutes, you can prevent serious issues before they start.
Park on a Level Surface and Let the Engine Cool
Turn off the engine and wait 10–15 minutes. This ensures accurate readings, especially for oil and coolant, which expand when hot.Check Engine Oil
Pull the dipstick, wipe it clean with a rag, reinsert fully, then pull it out again. Look at the oil level between the two marks. If low, use a funnel to add the recommended oil type in small amounts, checking frequently to avoid overfilling.Inspect Coolant Level
Check the translucent coolant reservoir (never open the radiator cap when hot). If the level is below “MIN,” mix distilled water and antifreeze in the correct ratio, then top off carefully.Examine Brake Fluid
Locate the small reservoir labeled “brake fluid.” The level should be between “MIN” and “MAX.” If low, add the recommended DOT-rated fluid—avoid spilling, as it can damage paint.Refill Windshield Washer Fluid
Use a clean funnel to pour washer fluid into the large, marked reservoir until full. Use a de-icing formula in colder regions like northern Punjab during winter months.
Always store fluids in clearly labeled containers and dispose of used materials responsibly. Routine checks every two weeks can catch small issues early—keeping your car safe and efficient on Jhelum’s streets and beyond.
When to DIY and When to Call a Pro: Your Car Repair Safety Guide
How do I know when a car issue requires professional help?
Some problems, like grinding brakes, illuminated check engine lights, or transmission slipping, signal deeper mechanical faults best addressed by certified technicians. Electrical system malfunctions, airbag warnings, and ABS errors often require specialized diagnostic tools and software access. If you’re unsure about the root cause or lack the confidence to complete the repair safely, professional assessment prevents further damage and ensures roadworthiness.
How often should I inspect my vehicle for potential issues?
Monthly visual inspections are ideal for all drivers. Check tire tread depth, fluid levels (oil, coolant, brake fluid), windshield wipers, and exterior lights. After heavy rain or winter driving in regions like Punjab, inspect for corrosion or brake performance changes. Urban drivers in Jhelum or Islamabad should also monitor battery health due to frequent stop-and-go traffic.
Is it safe to work on my car at home? What precautions should I take?
Always disconnect the battery before starting work. Use jack stands—not just a hydraulic jack—when lifting the vehicle. Wear safety goggles and gloves, and never work under a car on an incline. Ensure your workspace is well-ventilated, especially when handling fluids.
Can I change my own oil or replace brake pads safely?
Yes—these are common DIY tasks with the right tools and guidance. Use a torque wrench to avoid over-tightening oil filters or wheel lug nuts. When replacing brake pads, reset the caliper properly and bleed the brake lines to avoid spongy pedal feel.
What tools should every DIYer have at home?
Start with a socket wrench set, jack and jack stands, tire pressure gauge, jumper cables, and a multimeter. A basic OBD2 scanner helps interpret engine codes before attempting repairs.
Take Control of Your Car Care: Confidence Starts at Home
Learning basic car repairs isn’t just about saving money—it’s about gaining independence, peace of mind, and long-term vehicle reliability. When you understand how to handle common issues like replacing wiper blades, changing oil, or diagnosing a weak battery, you reduce reliance on frequent service visits and avoid unnecessary costs. For drivers in cities like Jhelum or suburban areas across Punjab, where access to trusted mechanics might be limited, this knowledge is even more valuable.
Simple maintenance tasks extend your vehicle’s lifespan, improve fuel efficiency, and help prevent minor issues from turning into expensive repairs. Checking fluid levels, rotating tires, and inspecting brake pads are quick wins that keep your car running smoothly. Plus, staying proactive means you’re less likely to face roadside breakdowns, especially during long drives through rural routes or unpredictable weather.
Start small: equip your garage with basic tools, consult your vehicle’s manual, and practice one skill at a time. As your confidence grows, so will your ability to spot problems early and act fast. For those ready to go further, consider learning how to read OBD2 codes or perform coolant flushes safely.
Take the next step today—inspect your car this weekend and tackle one maintenance item. Your future self will thank you when you avoid a costly towing bill or unexpected repair. Empower your drives with knowledge, and make car care a habit, not a hassle.
Discover more from UnzipWorld: DIY, E-commerce, Fashion & Tech Insights
Subscribe to get the latest posts sent to your email.